I used my sawmill last winter to process about 20 medium to large pine trees that were salvaged from a neighbors yard. “Rescued” might be a better word since the trees were originally destined for the burn pile.
NOTE: See picture gallery below – pictures read left to right – then down in order.
The boards I made with the sawmill were mostly 2×4’s and 2×6’s dried in the sun through the spring and summer.
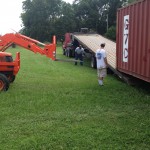
The project started as we dropped the container I purchased a few years ago. During our house remodel a few years ago the container was used to store furniture during the construction. Then as summer came I realized that the container I had come to depend on was too hot to use. A ceiling fan partially melted inside the container!
I move the container to a location away from the house on the north end of my existing shop. The idea was to cover the container to provide a cool cover during the summer and also to provide a dry work area outside my existing shop, which is being converted to a woodworking shop. No slab will be poured in this part of the shop.
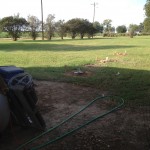
The next step was to lay out the footings. I used 12.0’ centers since all of the lumber I cut was 12’6” and because the 12’ bays would be perfect for moving in lumber from the mill with the tractor on the east (open) side of the new shed.
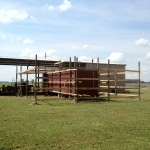
Next you see the posts up and staked and we’ve begun to nail up the stringers. These are horizontal members used to connect the posts together and form the walls of the shed.
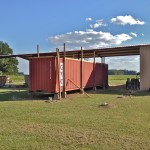
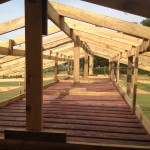
Then the roof. Undoubtedly, the toughest and most dangerous work all happened here. We were very careful and had no falls or injuries on this job, thank goodness. Roof joists were fabricated onsite by splicing 2×6’s to get the 19 foot length we needed for the span.
Here you can see what the skeleton looks like before we added lathing and bracing around the structure.
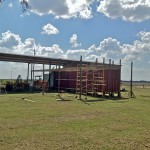
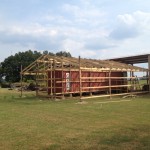
After the roof joists went up we put down lathing – the 2×4’s that run perpendicular to the roof joists to which the metal roofing will later be screwed. Really, this was the most difficult part of the job since each board had to be leveled as we installed it since roof joists were not exactly straight. This is a disadvantage of using “home made” boards and air-drying them. The store bought lumber is kiln dried but contains about 35% less wood than my boards. In this pic you can also see a lot of bracing that we added around the structure for strength.
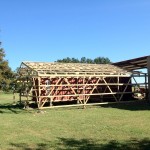
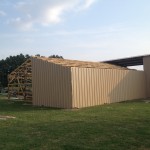
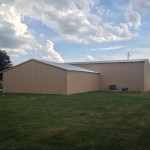
A couple of days later, the metal showed up. I went with white on top with a 3 clear “skylight” panels on each side of the roof and brown on the walls to match the other shop addition I did years ago. We did the west wall and half of the north wall the first afternoon.
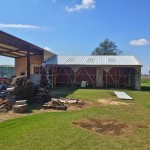
The next shot shows the finished building and the last shot shows the east wall. This east wall is left open for future lumber storage. In the last shot you can see the very last piece of metal going onto the building.
- Dropping Container
- Footings poured with anchors
- First support posts set
- Starting the “stringers”
- Completing the stringers
- Roof joist go up
- Skeleton done
- With lath and bracing
- Metal walls go up
- Finished
- East side finished

The shed is amazing….Can’t wait to see it…